How to set the Out of Office status in Gmail
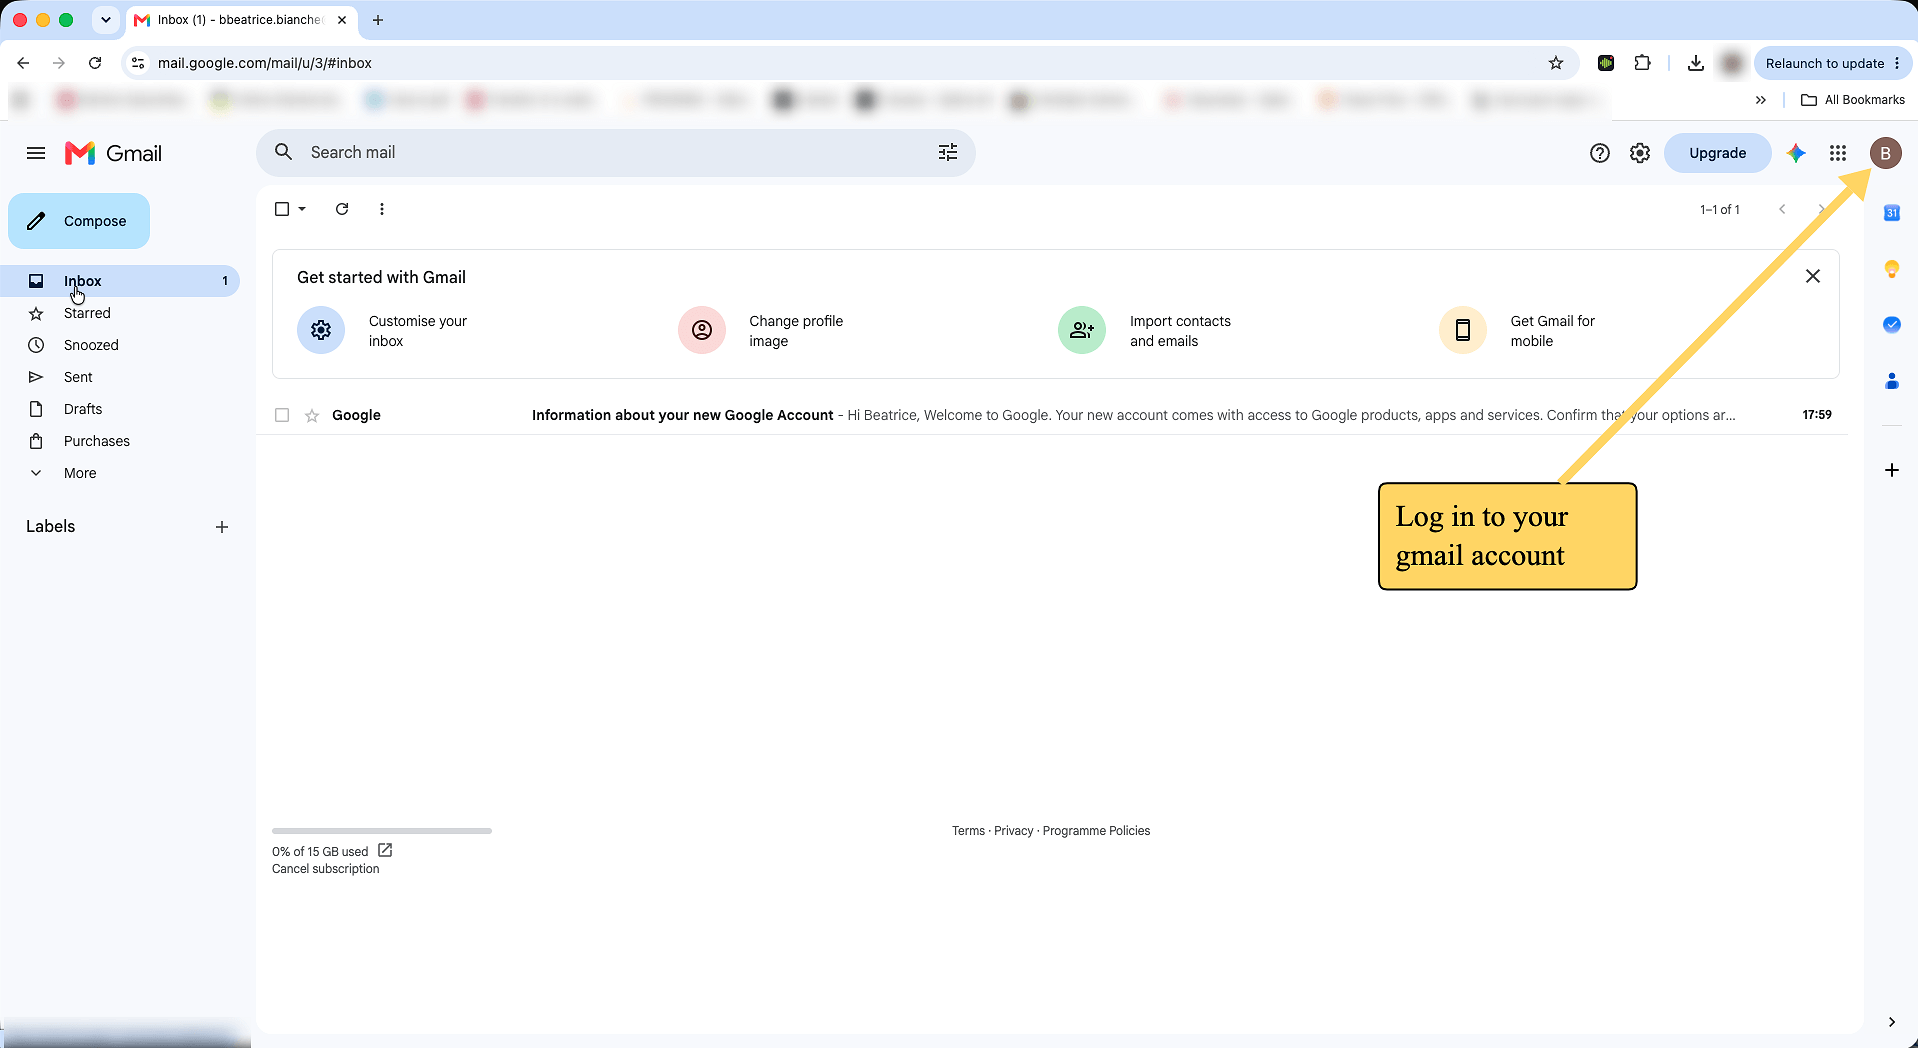
To set up an out-of-office auto-reply in the Gmail mobile app, open the app, tap the Menu icon (three lines) in the top left corner, and go to Settings. Tap your email address, select Vacation responder, toggle it On, and fill out your dates, subject, and message.
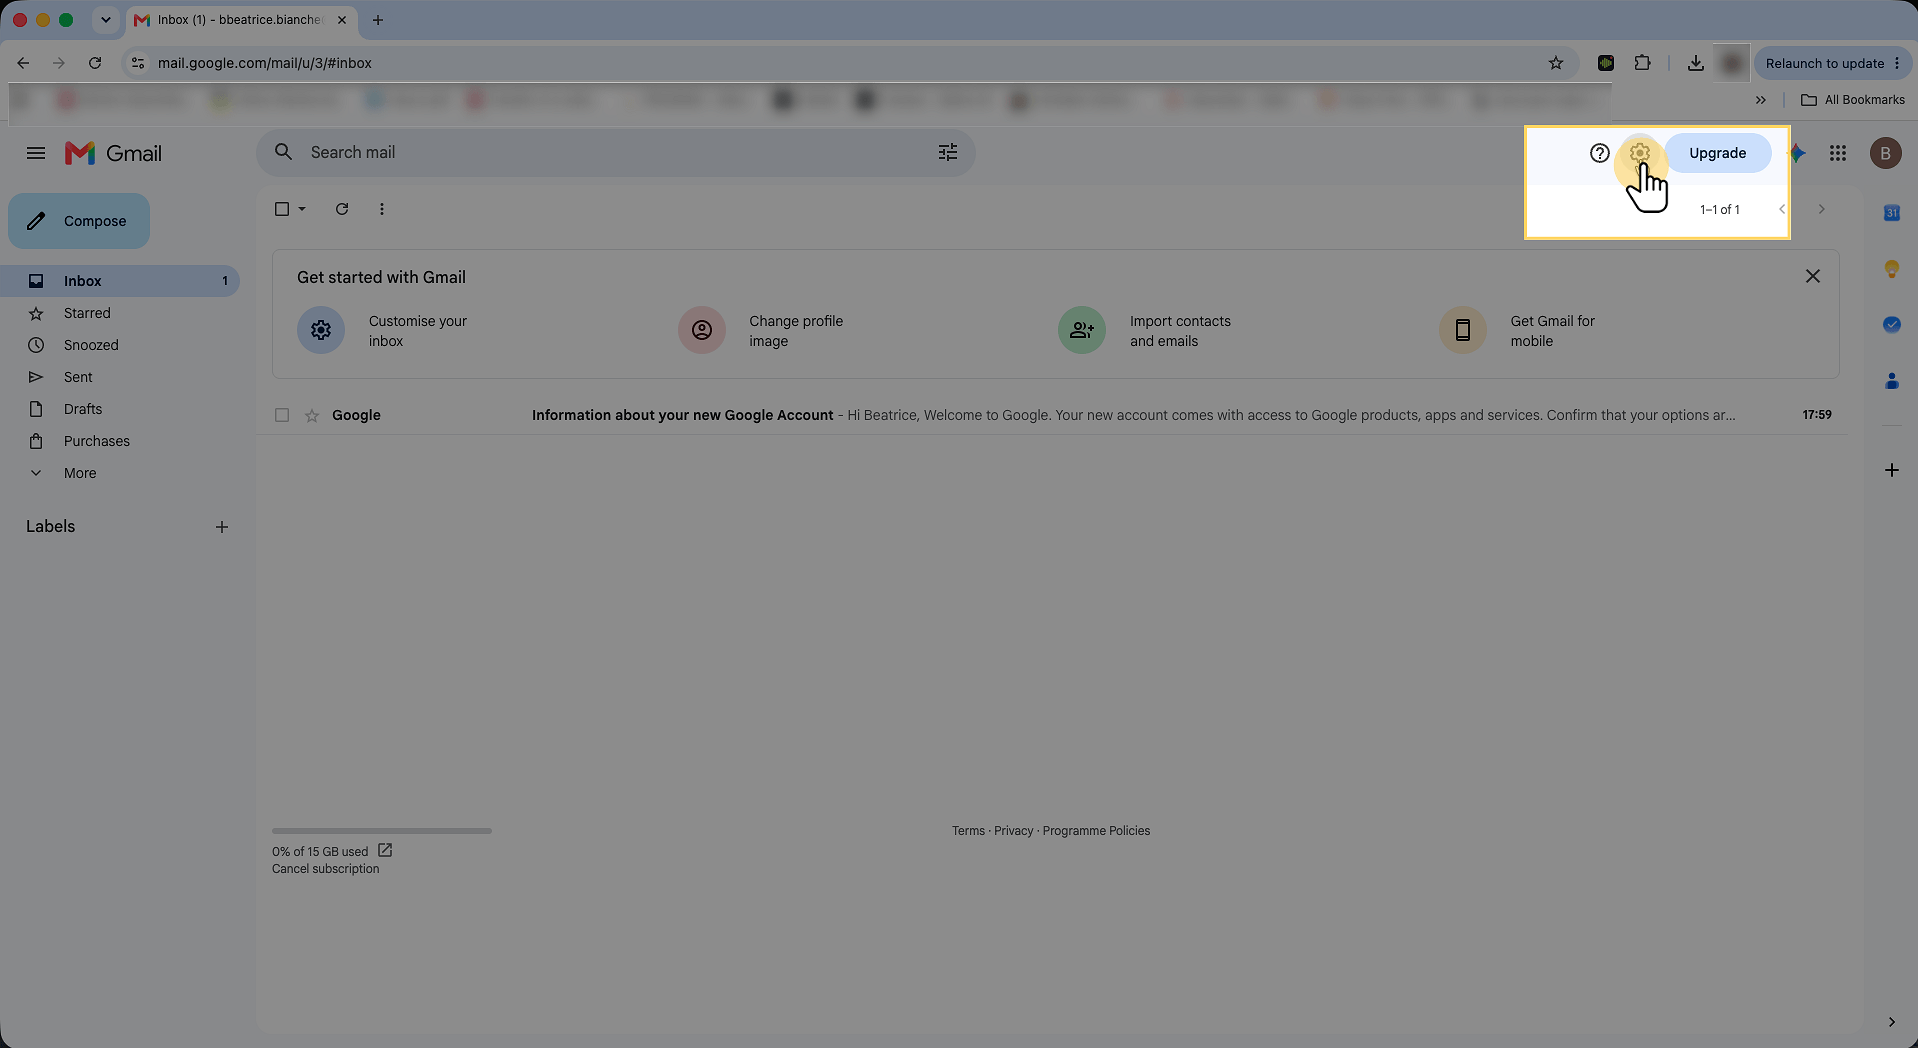
Click the gear icon (⚙) in the top-right corner of Gmail to open the quick settings panel.
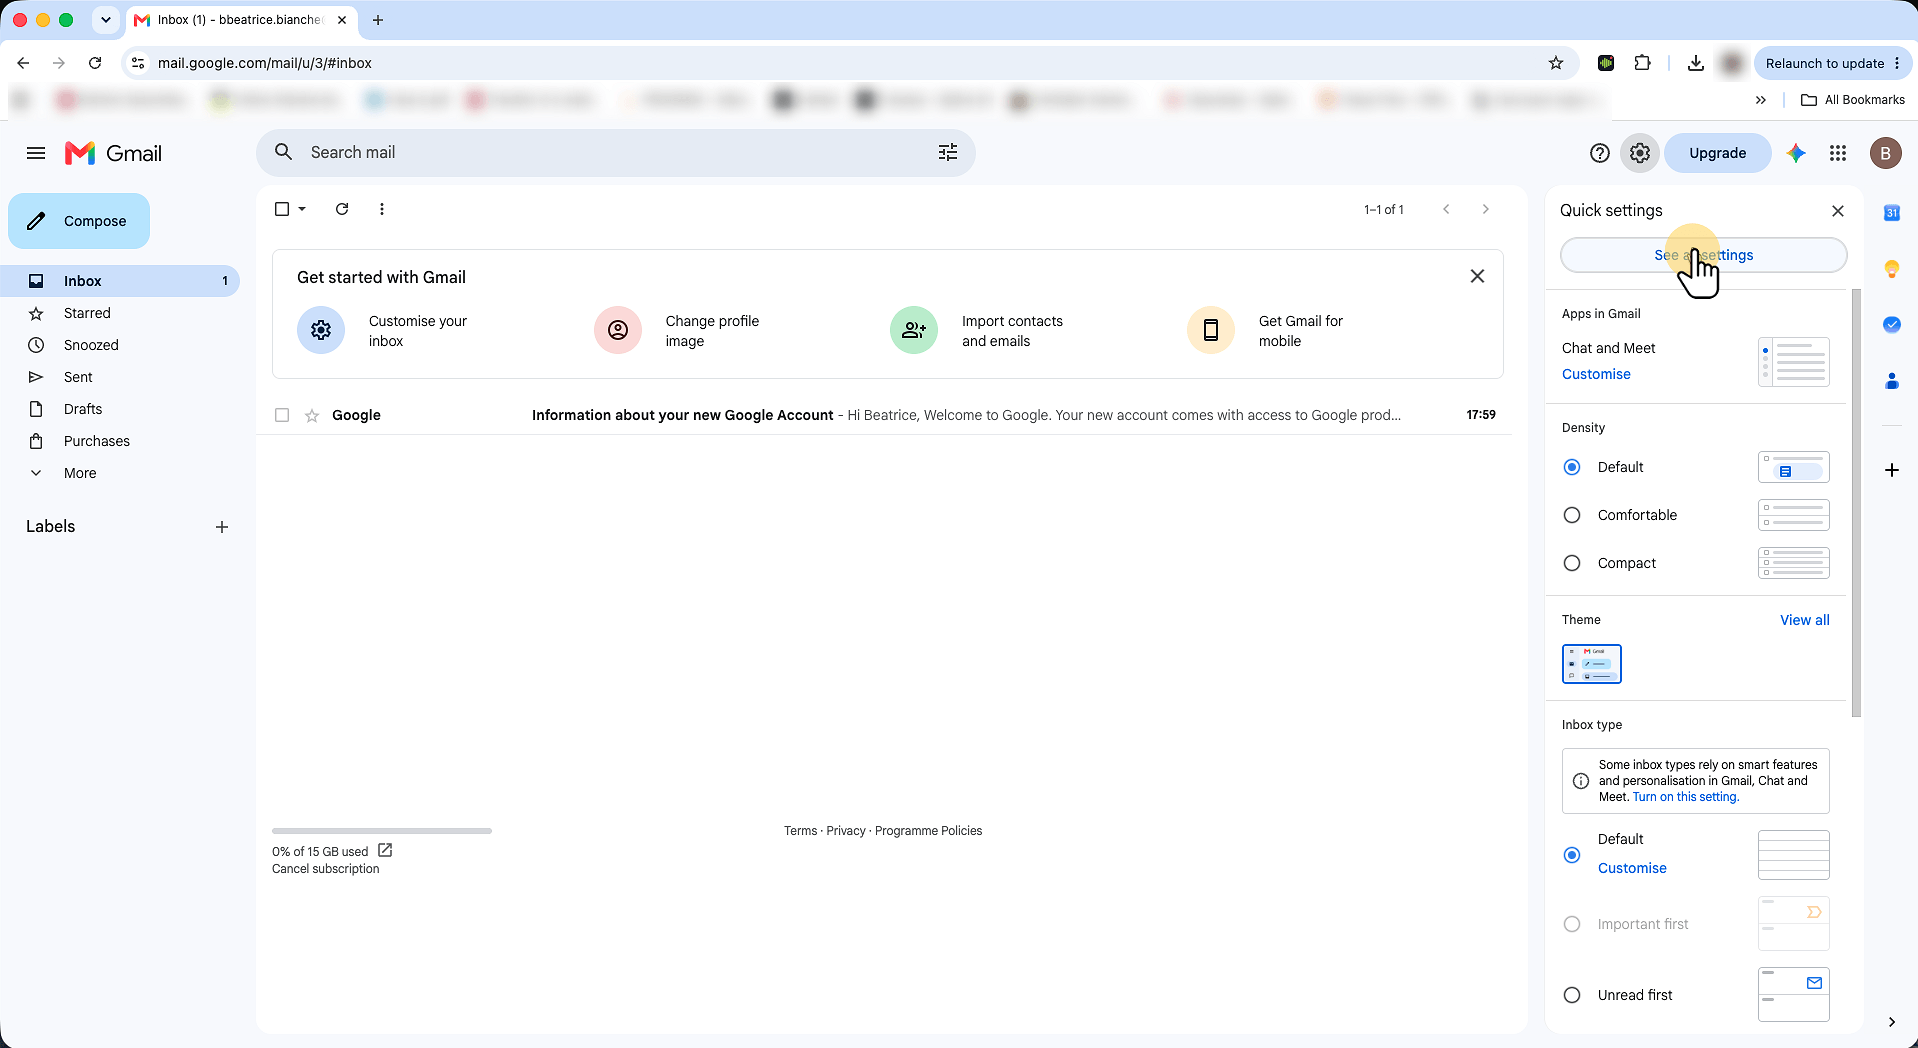
At the top of the quick settings panel, click See all settings. This opens Gmail's complete settings page, where the vacation responder lives.
The General tab is selected by default. Scroll all the way to the bottom — the Vacation responder section is the last one on this page.
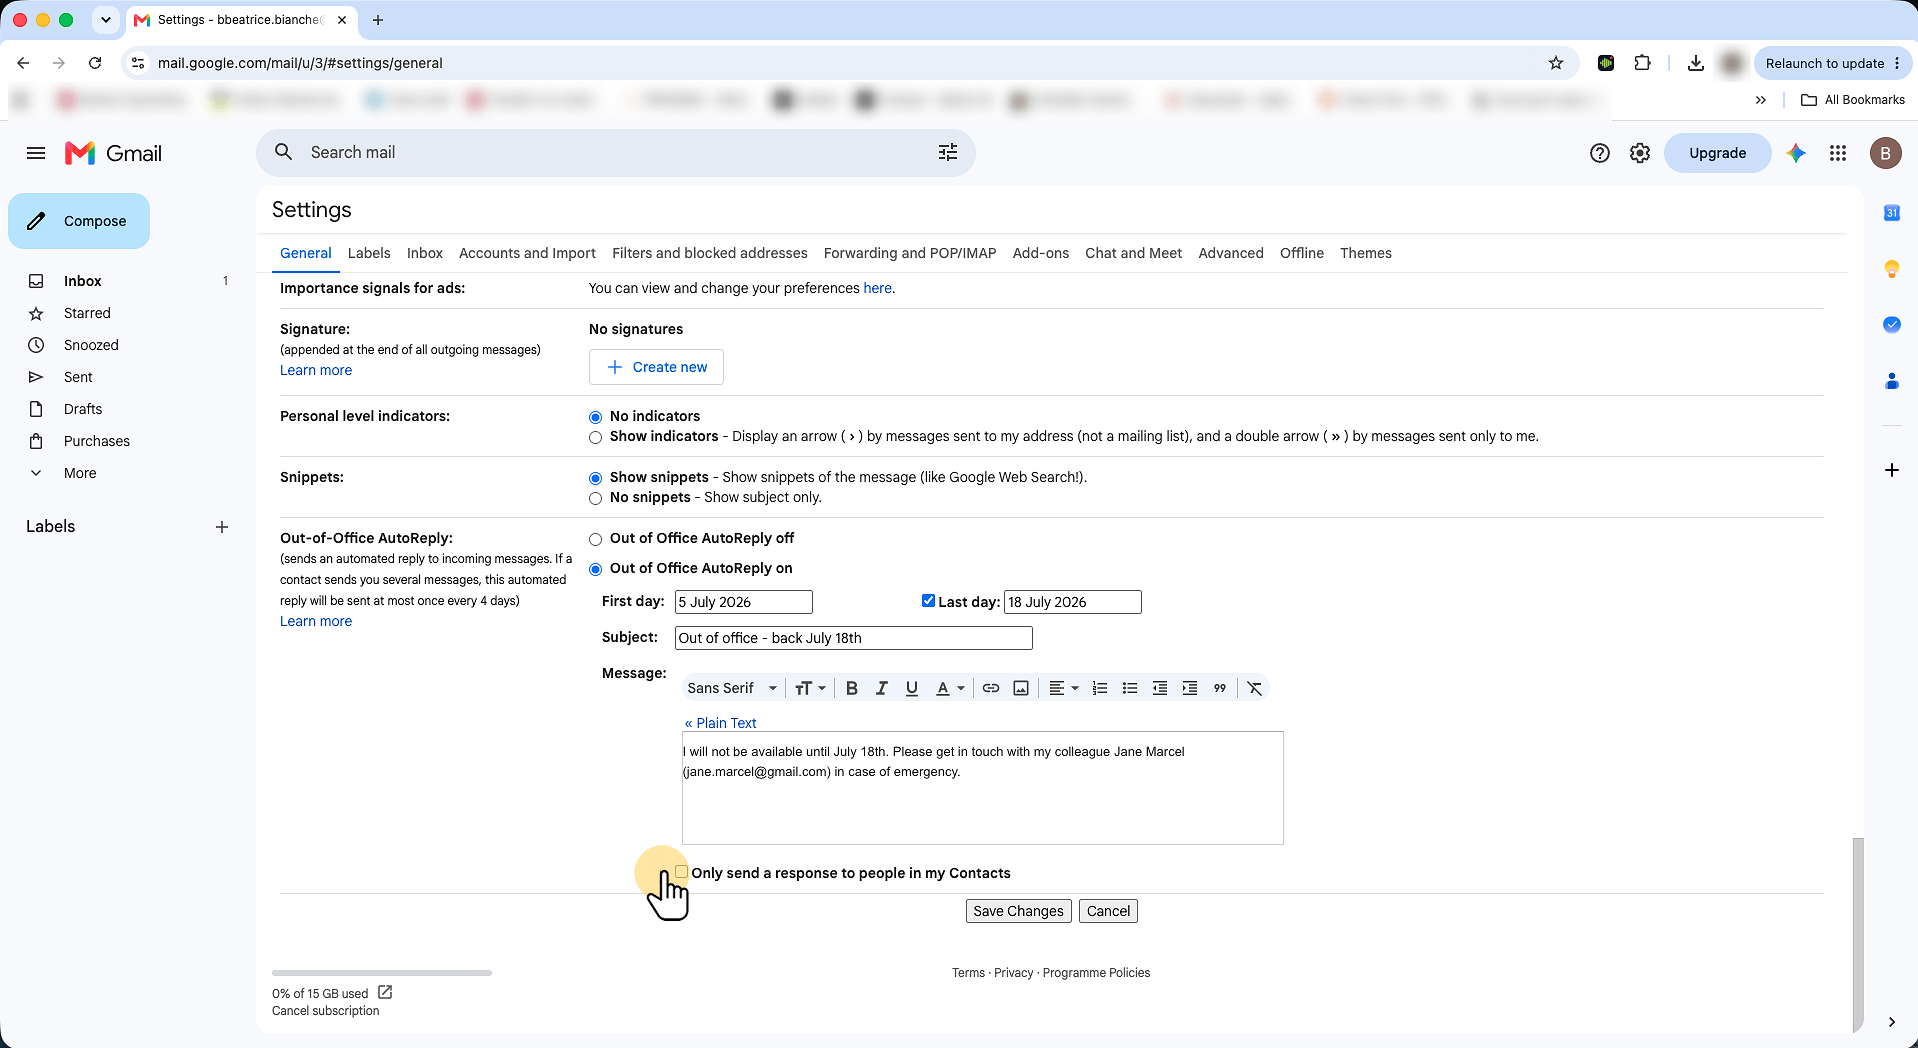
Select Vacation responder on (Out of Office AutoReply on). The fields below will activate so you can fill in the details. The First day will fill in automatically. Gmail will start sending auto-replies at midnight on this date.
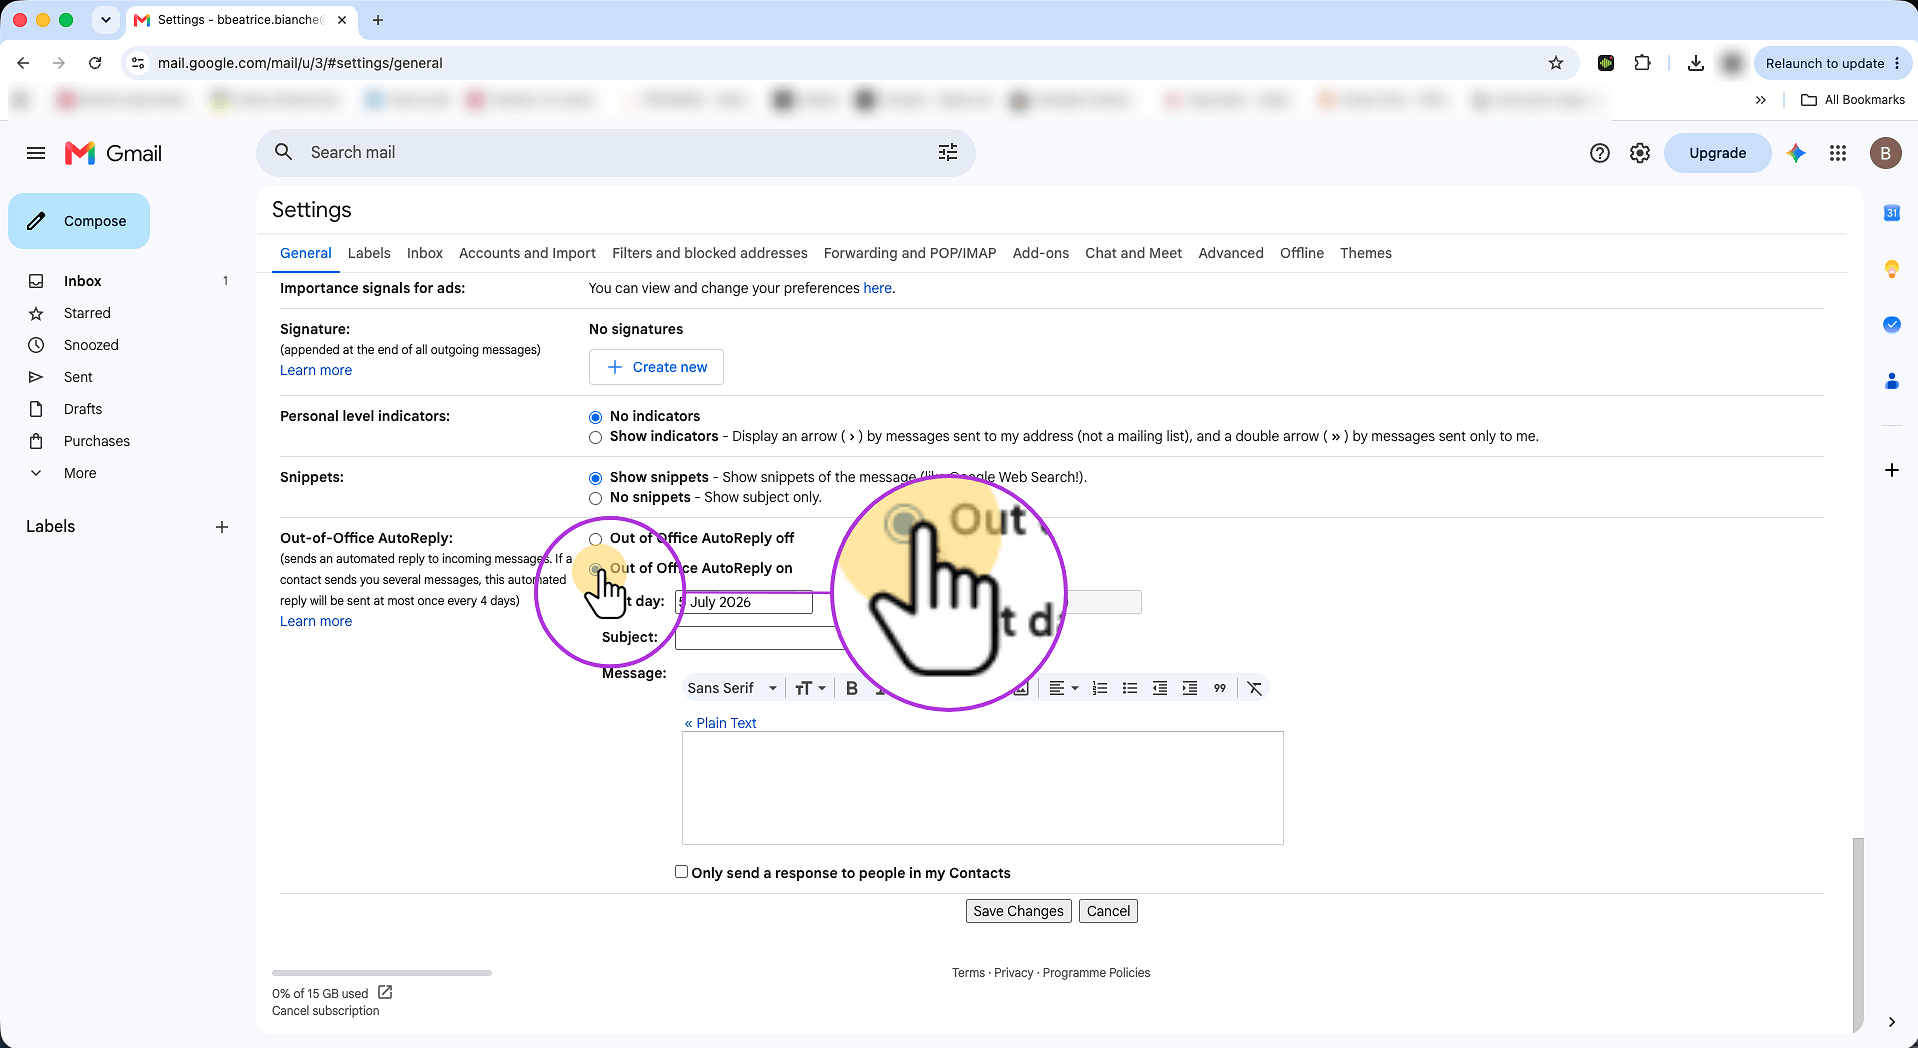
Tick the Last day checkbox and choose your return date. Gmail will turn the responder off automatically — no risk of leaving it on after you're back. You may as well leave the field empty, just don't forget to set the Vacation responder to off upon your return.
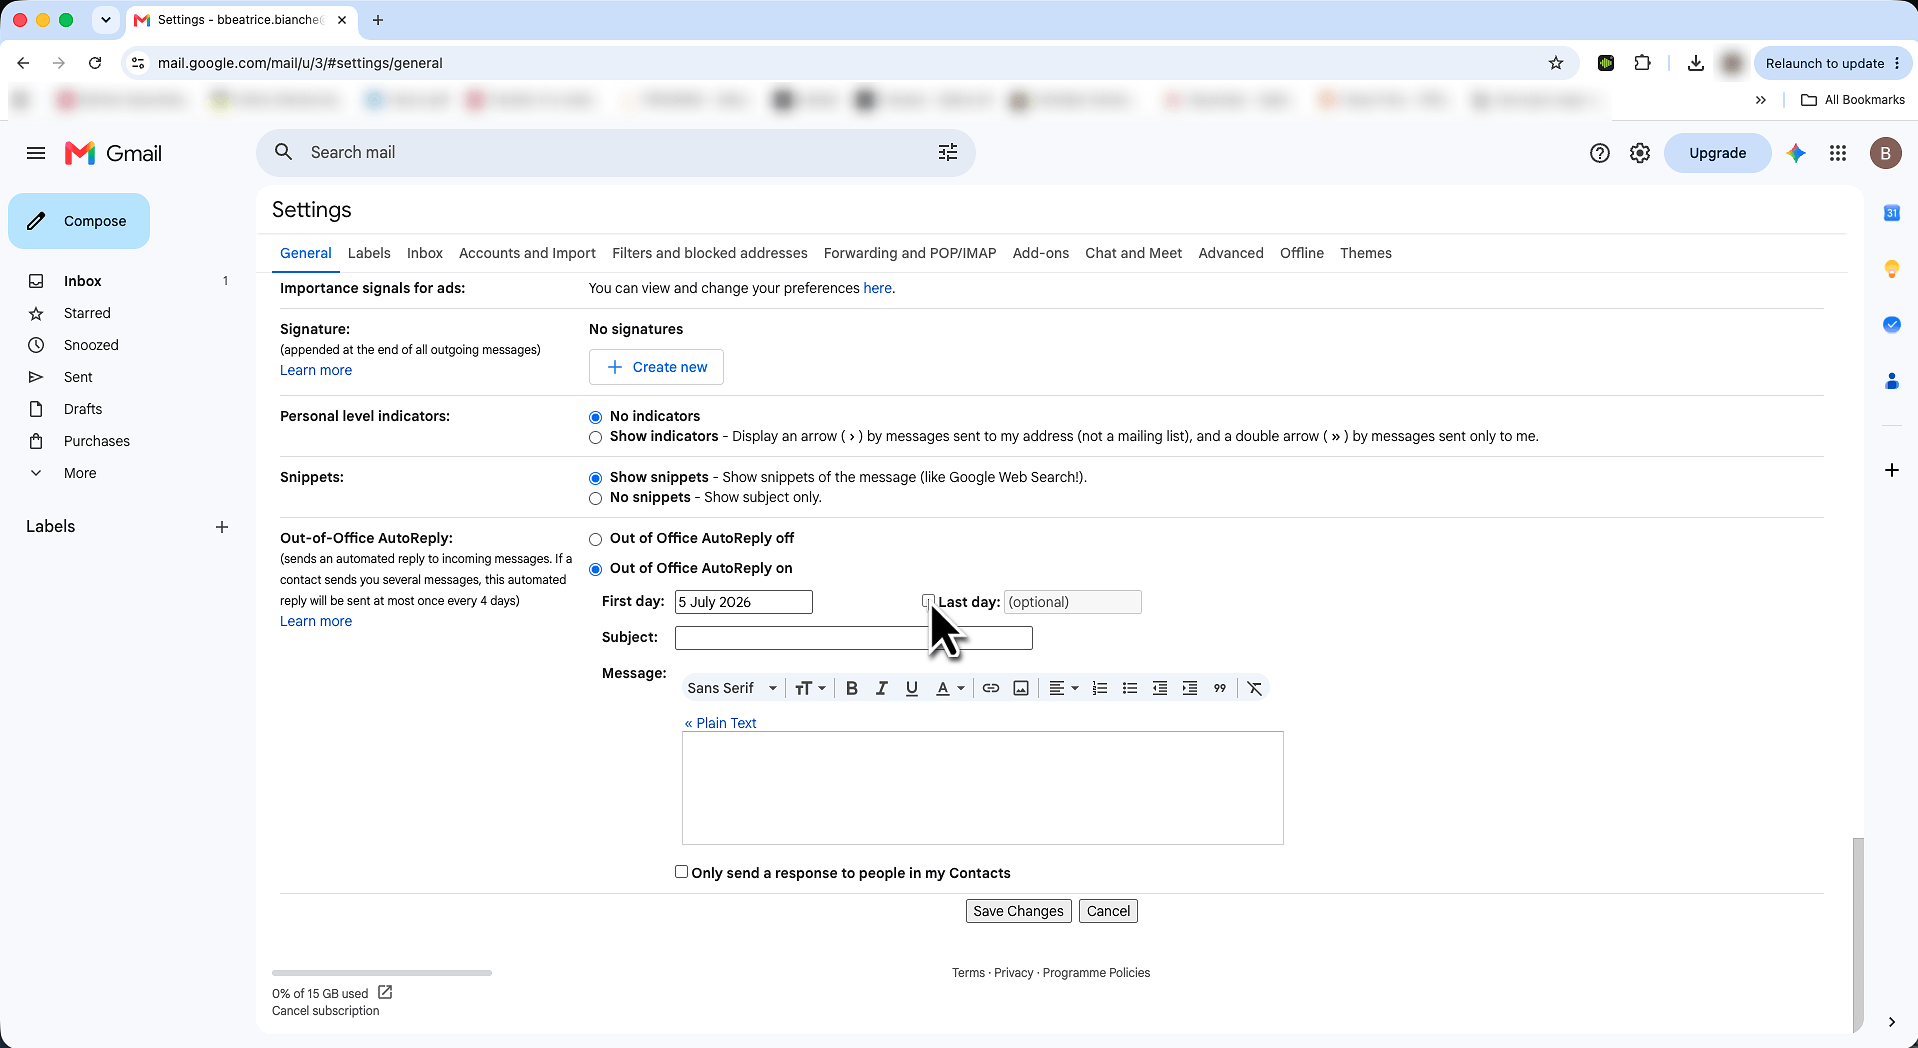
Keep it short and direct — something like "Out of office — back [date]". Senders see this in their inbox immediately and know exactly what's going on.
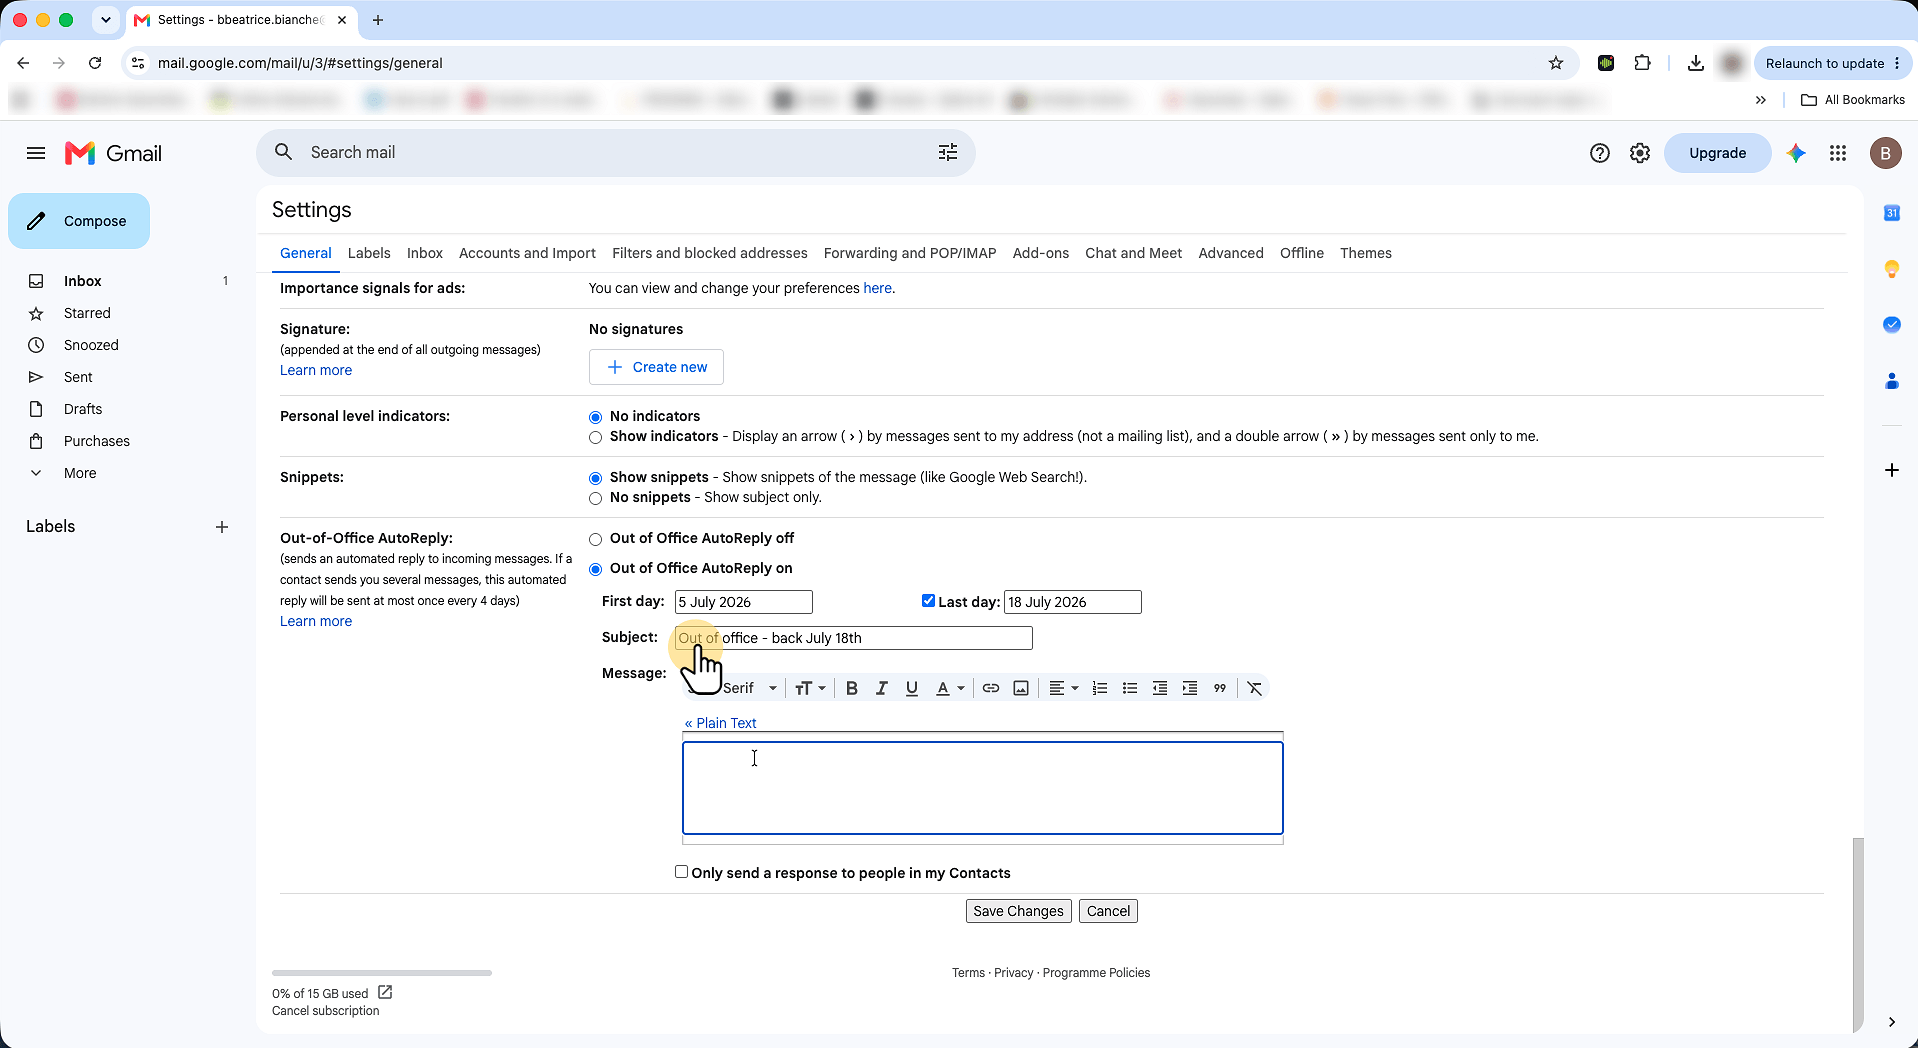
Let people know when you'll be back and who to contact in the meantime. Two or three sentences is plenty. You can use the toolbar to add formatting, links, or your signature.
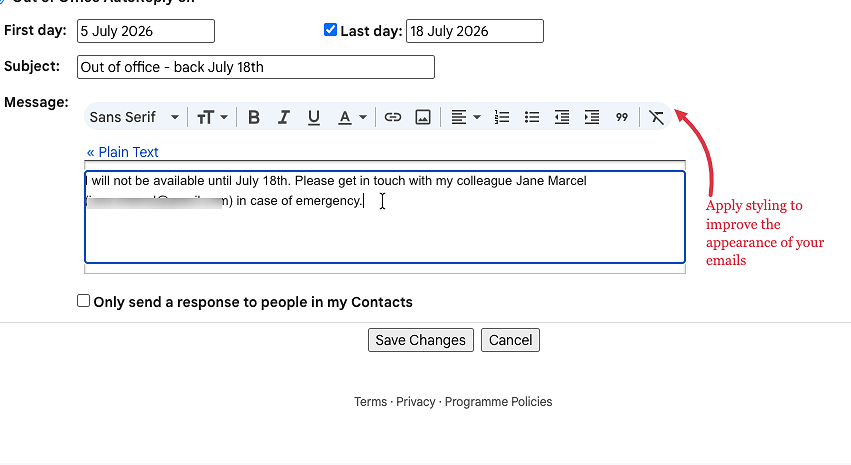
Two checkboxes let you restrict the responder to people in your contacts, or to people inside your company. Use these to keep your auto-reply from going to mailing lists and newsletters.
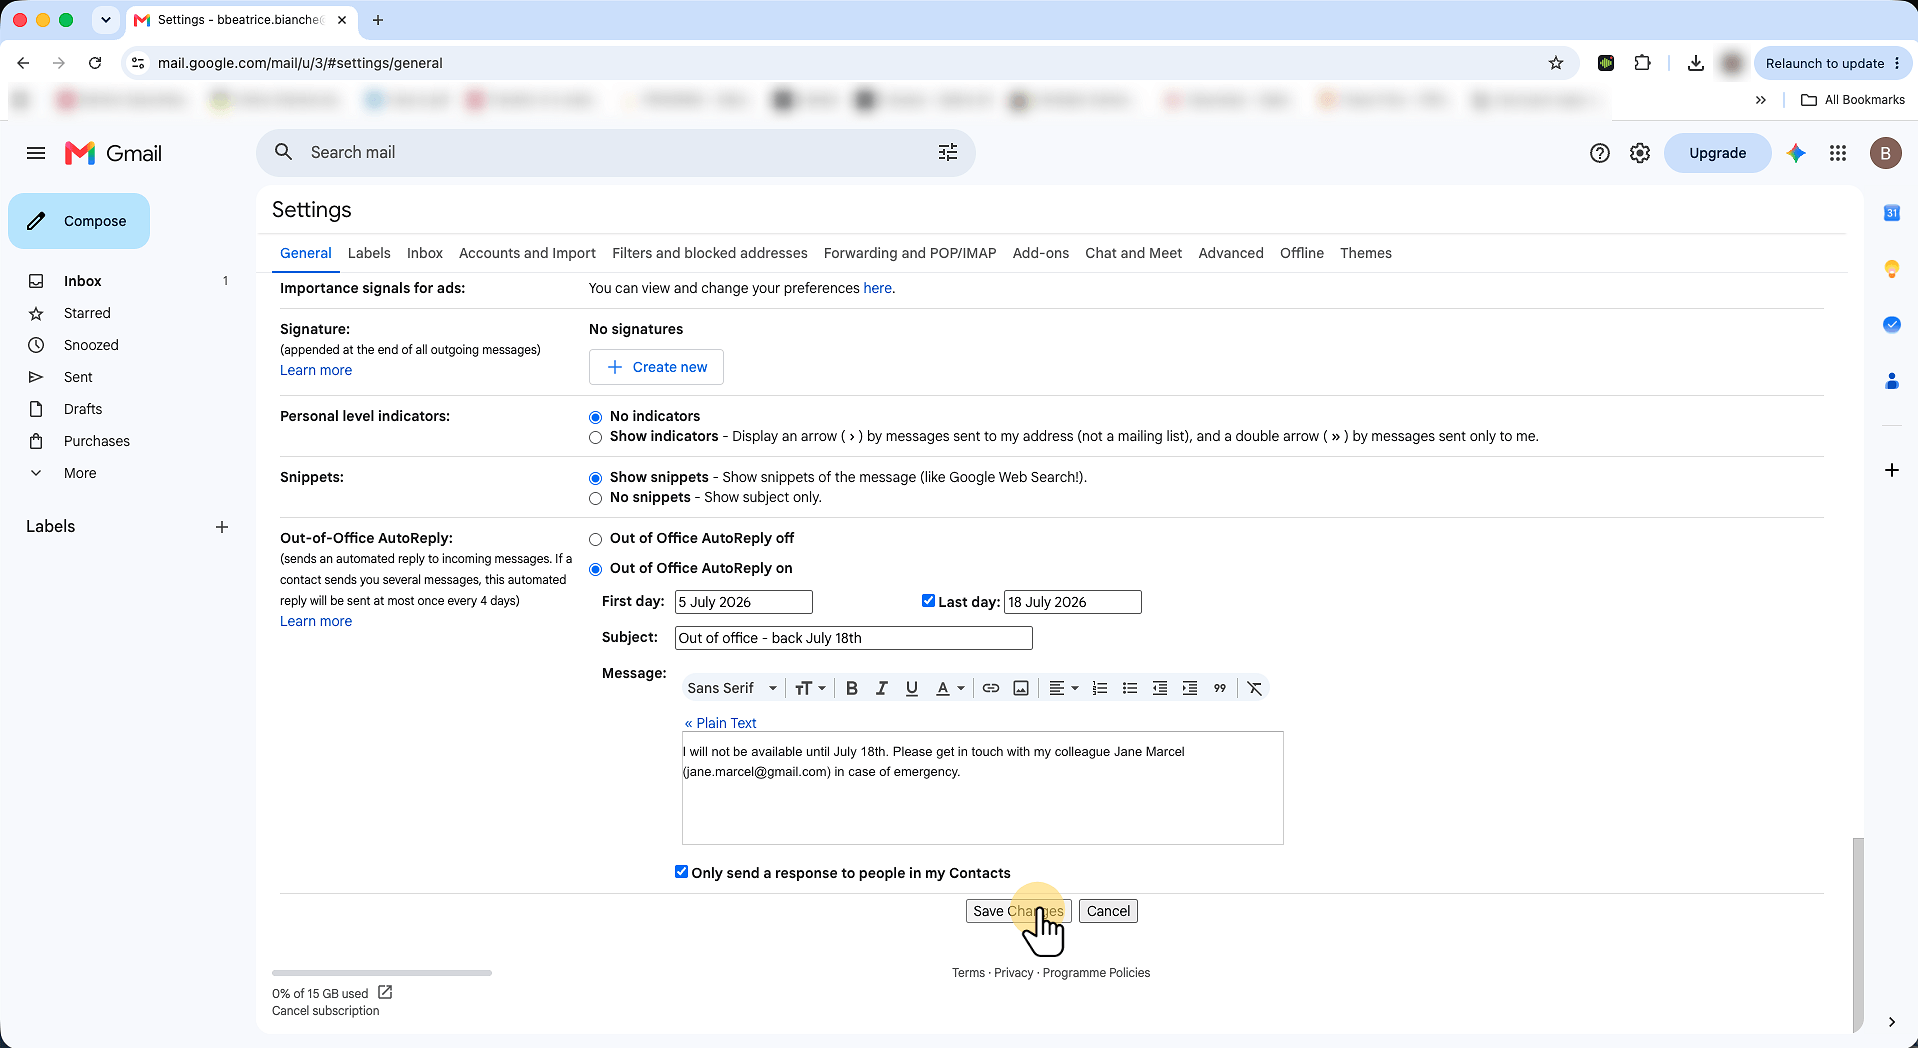
Scroll to the bottom of the settings page and click Save Changes. Your Vacation responder is now active and will start on your chosen first day.
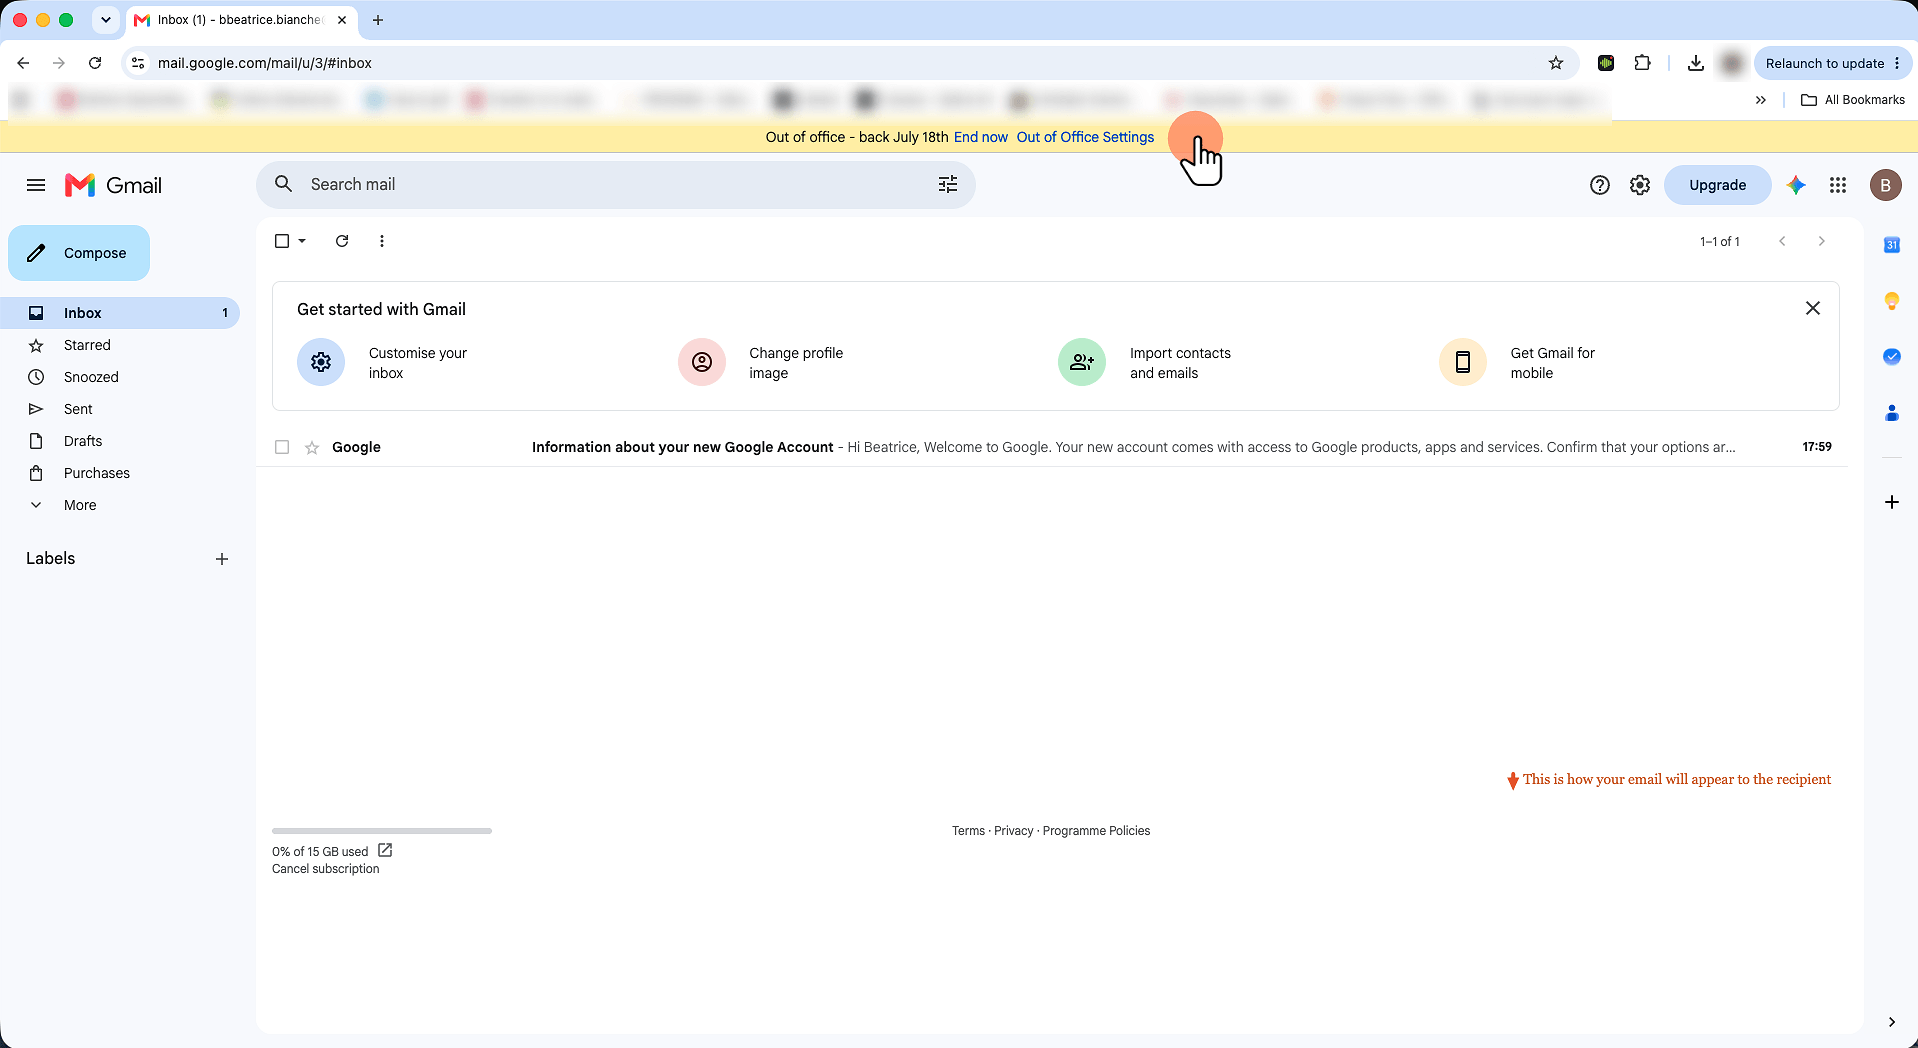
While the responder is active, Gmail shows a yellow banner at the top of your inbox with an End now button. Click it anytime to turn the auto-reply off before your end date.